
... and by adding a rubber band, you can launch it faster!
 |
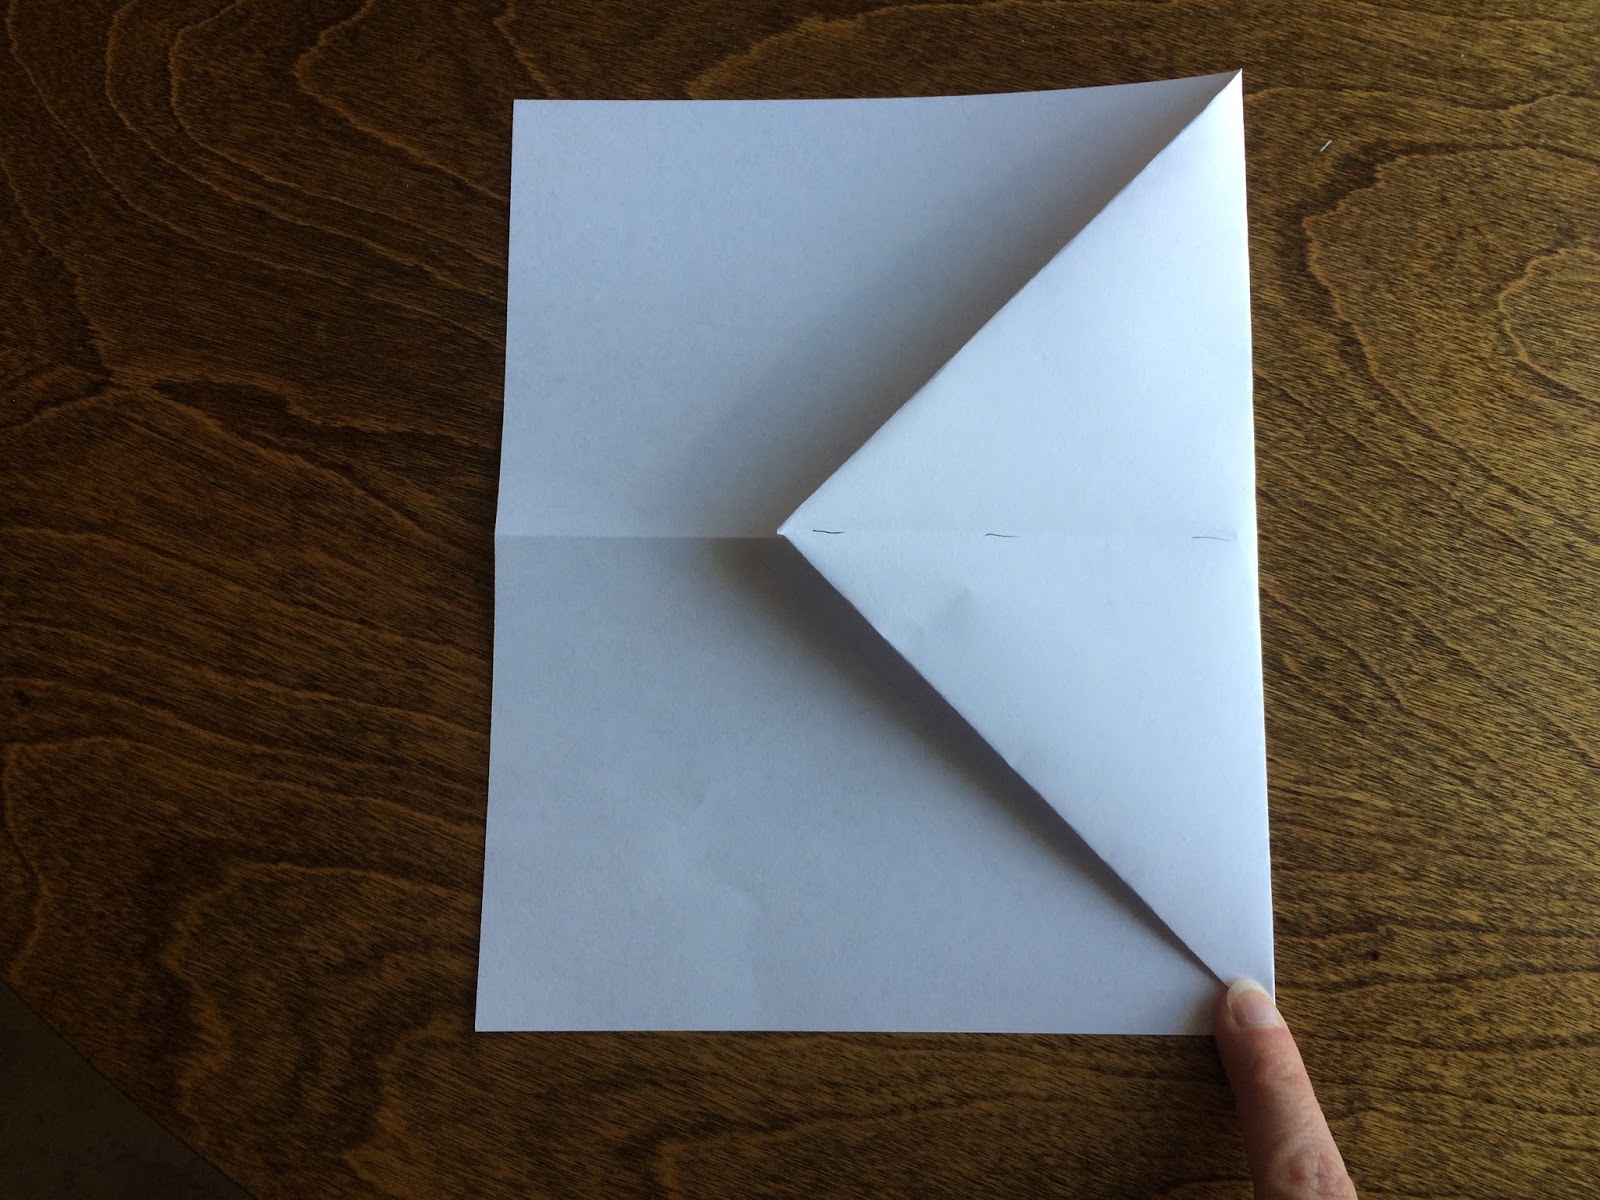
| 1- Fold the paper in half, then open it up again |
 |
| 2- fold the corners to the center line and crease |
 |
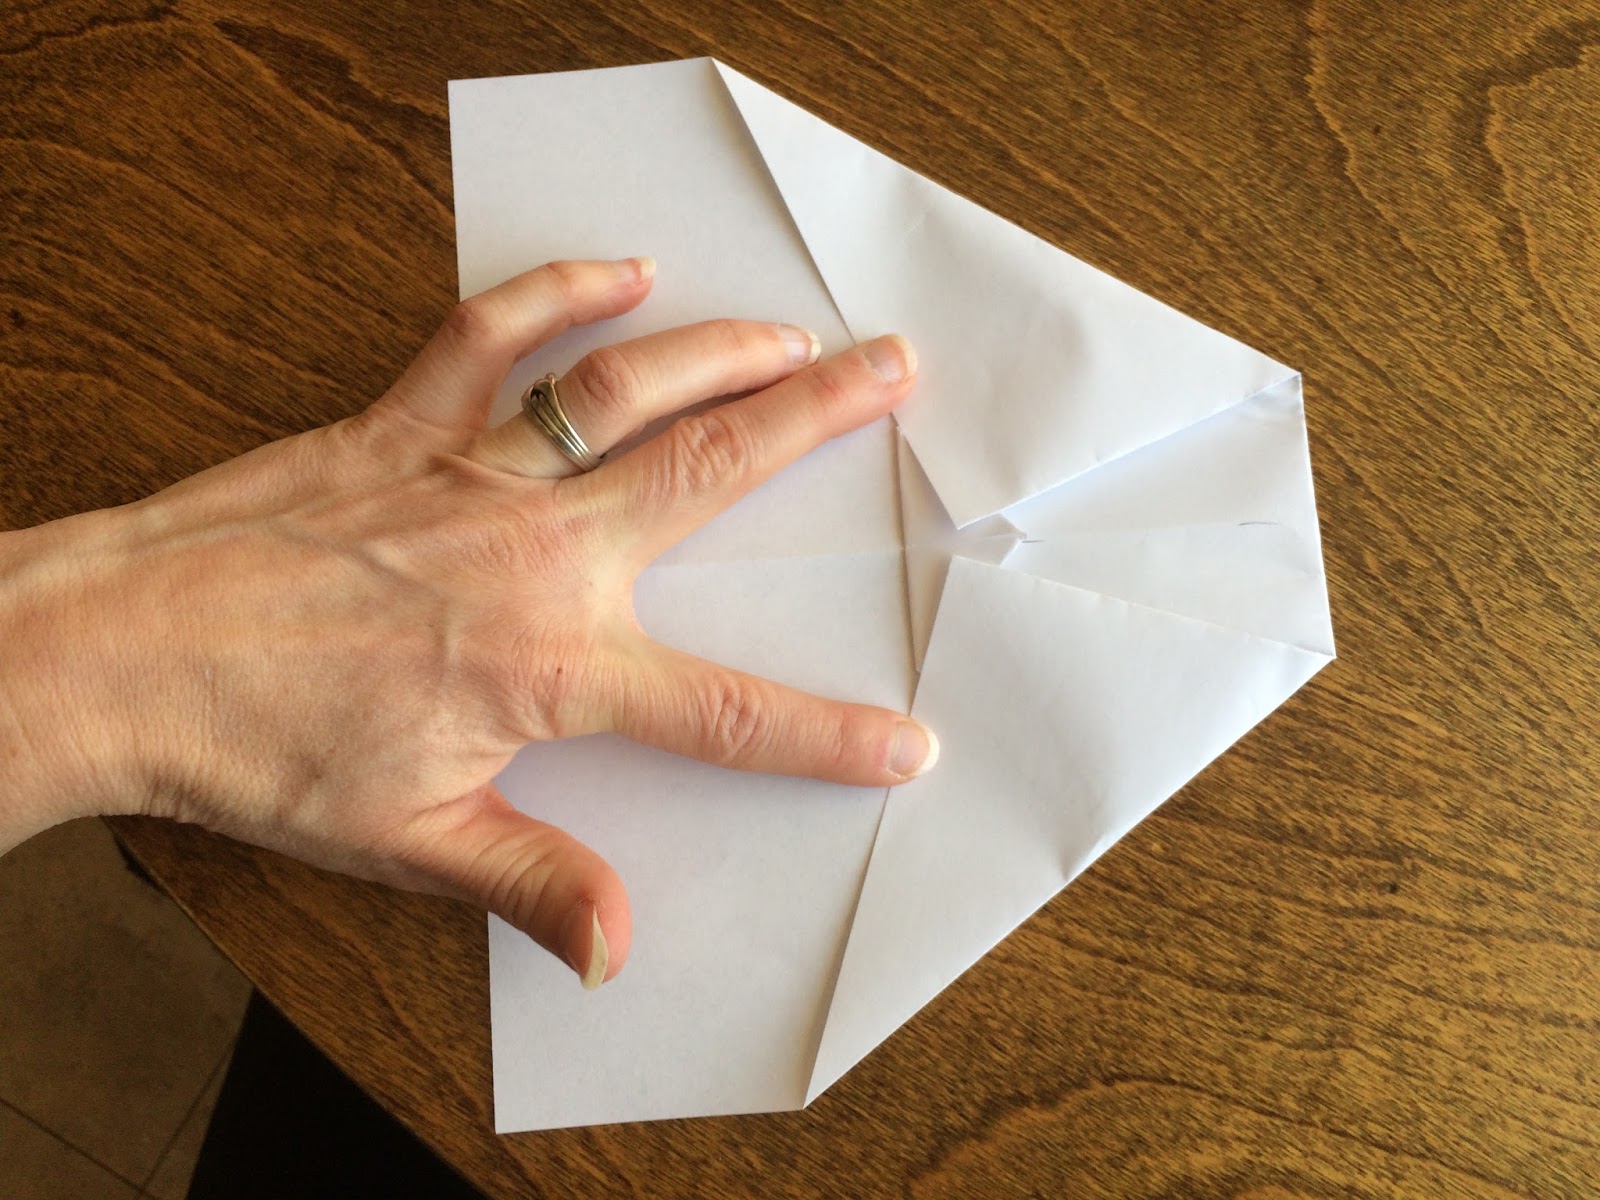
| 3- fold along the base of your triangle and crease |
 |
| 4- fold the point of your triangle up about 1 inch |
 |
| 5 - crease the triangle point |
 |
| 6- fold the corners down making sure they don't overlap the fold of your small triangle point. |
 7- turn the plane (1/4 turn to right), and put the folded corners under the folded triangle point |
 |
| 8- make a mountain fold (the center goes up and the edges go down) and crease along the center fold line |
 |
| 9- fold your edge down so it lines up with your folded center fold and crease |
 |
| 10- fold your other edge down so it lines up with your folded center fold and crease |
 |
| 10- lift up your edges to see your plane! Your plane is ready to fly! Try it out or... to make a rubber band launcher, continue below |
 |
| 1- Launcher - add a piece of tape as outlined with grey lines |
 |
| 2- Launcher - add tape on other sided and punch with a hole punch as shown |
 |
| 3 - launcher - put rubber band into hole |
 |
| 4- launcher - place one end of rubber band through other end of rubber band |
 |
| 6 - launcher - pull on the rubber band that is in the other end and pull until the end is tight |
 |
| 7- put finger through rubber band and pull back plane. Let go of plane and off it goes! |
Happy Flying!
No comments:
Post a Comment